Free crochet pumpkin pattern

This pattern for pumpkins is so quick and easy.
Following this pattern in chunky yarn will make you a pumpkin around 12 cm wide by 7 cm high.
To make a bigger pumpkin simply work more increase rounds and equally more straight rounds, remember how many stitches you got to with your increase rounds and decrease the same number of rounds (hope that makes sense !)
Ok, lets start. I like to make my pumpkins in chunky yarn and I use a 5mm crochet hook, we will be working in rounds so remember to mark your first or last stitch (which ever you prefer) after each round.
This pattern is written in UK crochet terms.
Abbreviations -
Ch = chain
dc = double crochet
st - stitch
inc = increase (work 2 stitches in each stitch)
dec = decrease ( work 2 stitches together)
Make a magic ring (or chain 2 and work as follows into the 2nd chain from hook)
Round 1 - work 6 dc's into ring (6 sts)
| Round 2 - inc in each st ( 12sts) |  |
Round 3 -* work 1dc in first st, 1 inc in next, repeat from * to end (18 sts)
Round 4 - *work 1 dc in next 2 sts, inc in next, rep from * to end (24 sts)
Round 5 -*work 1 dc in each of the next 3 sts, inc in next st, rep from * to end (30 sts)
Round 6 -* work 1 dc in each of the next 4 sts, inc in next st, rep from * to end (36 sts)
Round 7 - *work 1 dc in each of the next 5 sts, inc in next st, rep from * to end (42 sts)
| Round 8 -* work 1 dc in each of the next 6 sts, inc in next st, rep from * to end (48 sts) Don't worry if your shape turns into a hexagon it will round off later on. | 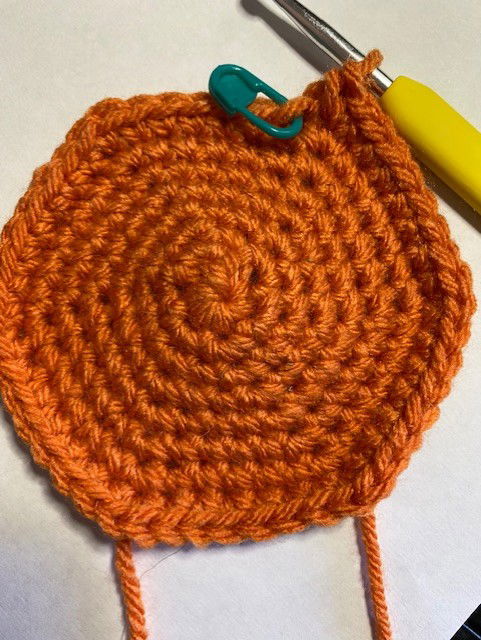 |
Round 9 - 14 - work 1 dc in each st (48 sts) ((6 rounds))
| Round 15 - work * 1dc in each of the next 6 sts, 1dec in next st, rep from * to end (42 sts) | 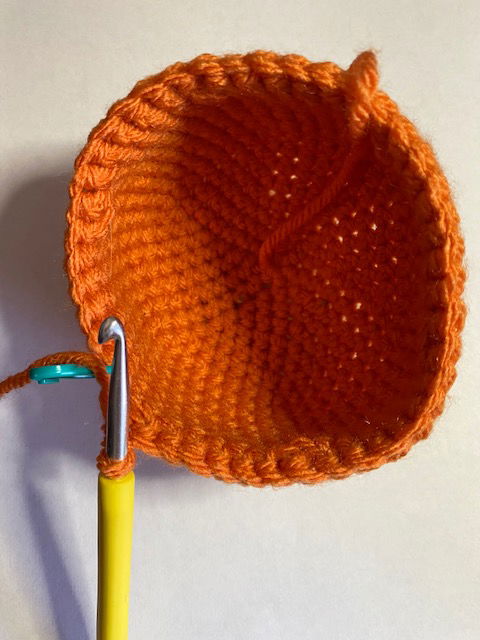 |
Round 16 - work * 1 dc in each of the next 5 sts, work 1 dec, rep from * to end (36 sts)
Round 17 - work * 1dc in each of the next 4 sts, dec in next st, rep from * to end (30 sts)
Round 18 - work * 1 dc in each of the next 3 sts, dec in next st, rep from * to end (24 sts)
| Stuff firmly | 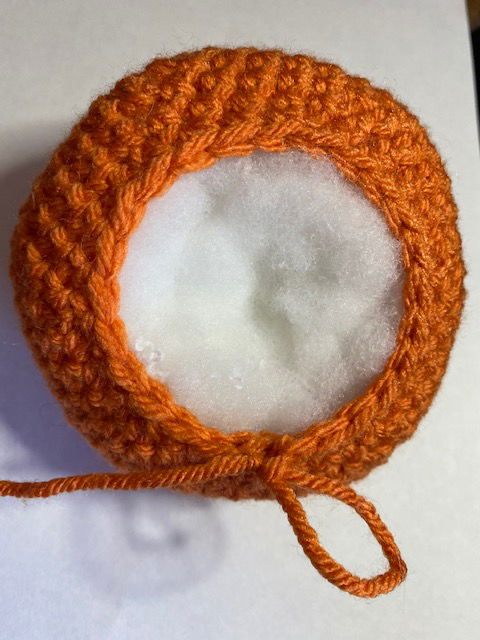 |
Round 19 - work * 1dc in each of the next 2 sts, dec in next st, rep from * to ens (18 sts)
Round 20 - work *, 1dc in the next st, dec in next st, rep from * to end (12 sts)
Add more stuffing if needed
Round 21 - work 1 dec in each st ( 6sts)
Fasten off leaving a very long tail for shaping the pumpkin. draw last 6 sts together.
| To shape the pumpkin, using the long tail end insert your hook through the centre at the top of the pumpkin straight through to the bottom, pulling tightly as you do. Repeat this until you have made 5 or 6 bumpy segments. Fasten off tightly at the base to secure. | 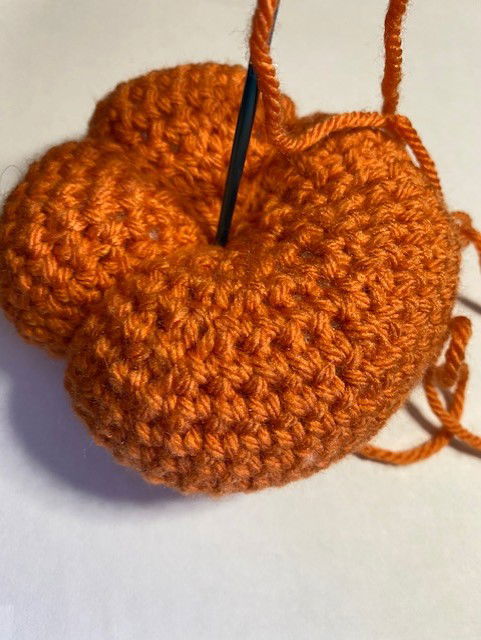 |
For the stalk -
Using chunky brown yarn
make a magic circle or work 2 chain (as for pumpkin)
Round 1 - work 6 dc into ring
Round 2-7- work 1 dc into each st to end (6 sts) (( 6 rounds))
fasten off stuff and leave to one side
For the twirly leaf
I used green dk yarn and a 4.5mm hook
Chain between 25 and 30 chains
Work randomly in each stitch across chain working some chains as 1dc's some as 2dc's and 3 dc's in others. you can be a random as you like with this - the more 'extra' stitches you put in each stitch the twirlier it will be !
Then simply attach your twirl securly to the dip on the top of your pumpkin, then add your stalk and voila ......
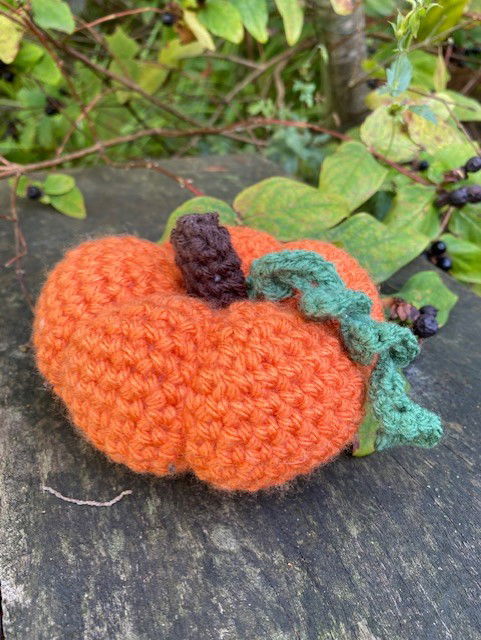
Make your pumpkins in a variety of colours for a nice display.
Happy Hooking !
Love Woolly Helen xx